The Dangers of DIY Paint Correction for Vehicles: Avoid These Mistakes
CALL (774) 202-2523Attempting paint correction on your vehicle might seem like a straightforward weekend project, but the reality is much different. Many car enthusiasts quickly discover that what starts as a seemingly simple task often spirals into a maze of unexpected challenges and costly errors. Nearly 60% of DIY hobbyists unintentionally damage their vehicle's paint due to inadequate understanding and improper techniques.
The primary dangers of DIY paint correction for vehicles include the potential to cause further damage to the vehicle's paint if done incorrectly, as well as the risk of using aggressive compounds or incorrect techniques that can result in the removal of too much clear coat, damaging the paint permanently. It is advised to carefully consider these challenges and risks and, when in doubt, seek professional paint correction services to safeguard the vehicle's paintwork.
Evaluating the Dangers of DIY Paint Correction
DIY paint correction, while alluring for those aiming to save money and seeking a sense of accomplishment, is not without its challenges. The absence of proper training and experience can make the process treacherous. The idea of correcting scratches and swirls on your vehicle's paintwork may seem manageable; however, the reality is quite different. One significant danger lies in using aggressive compounds or incorrect techniques, inadvertently leading to an irreparable loss of clear coat and permanent damage to the paint. Overusing abrasive polishing compounds can result in wearing through the clear coat, leaving an unsightly and compromised finish.
Additionally, achieving professional-quality results becomes an uphill task without the right tools and knowledge. Statistics reveal that nearly 60% of individuals attempting DIY paint correction end up inflicting some level of damage due to a lack of skill and understanding. This staggering number underscores the potential pitfalls that DIY enthusiasts may face when taking on such a task without the necessary expertise. Another common mistake made during DIY paint correction is overlooking the type of blemishes present on the vehicle's surface. This error often leads to choosing the wrong technique or product, exacerbating the current issues rather than rectifying them.
It's crucial to remember that what appears to be a straightforward task at first glance can quickly spiral into costly repairs or professional interventions if not executed with precision. Therefore, acquiring a comprehensive understanding of these potential pitfalls is vital in making an informed decision regarding DIY paint correction.
Risk of Surface Damage
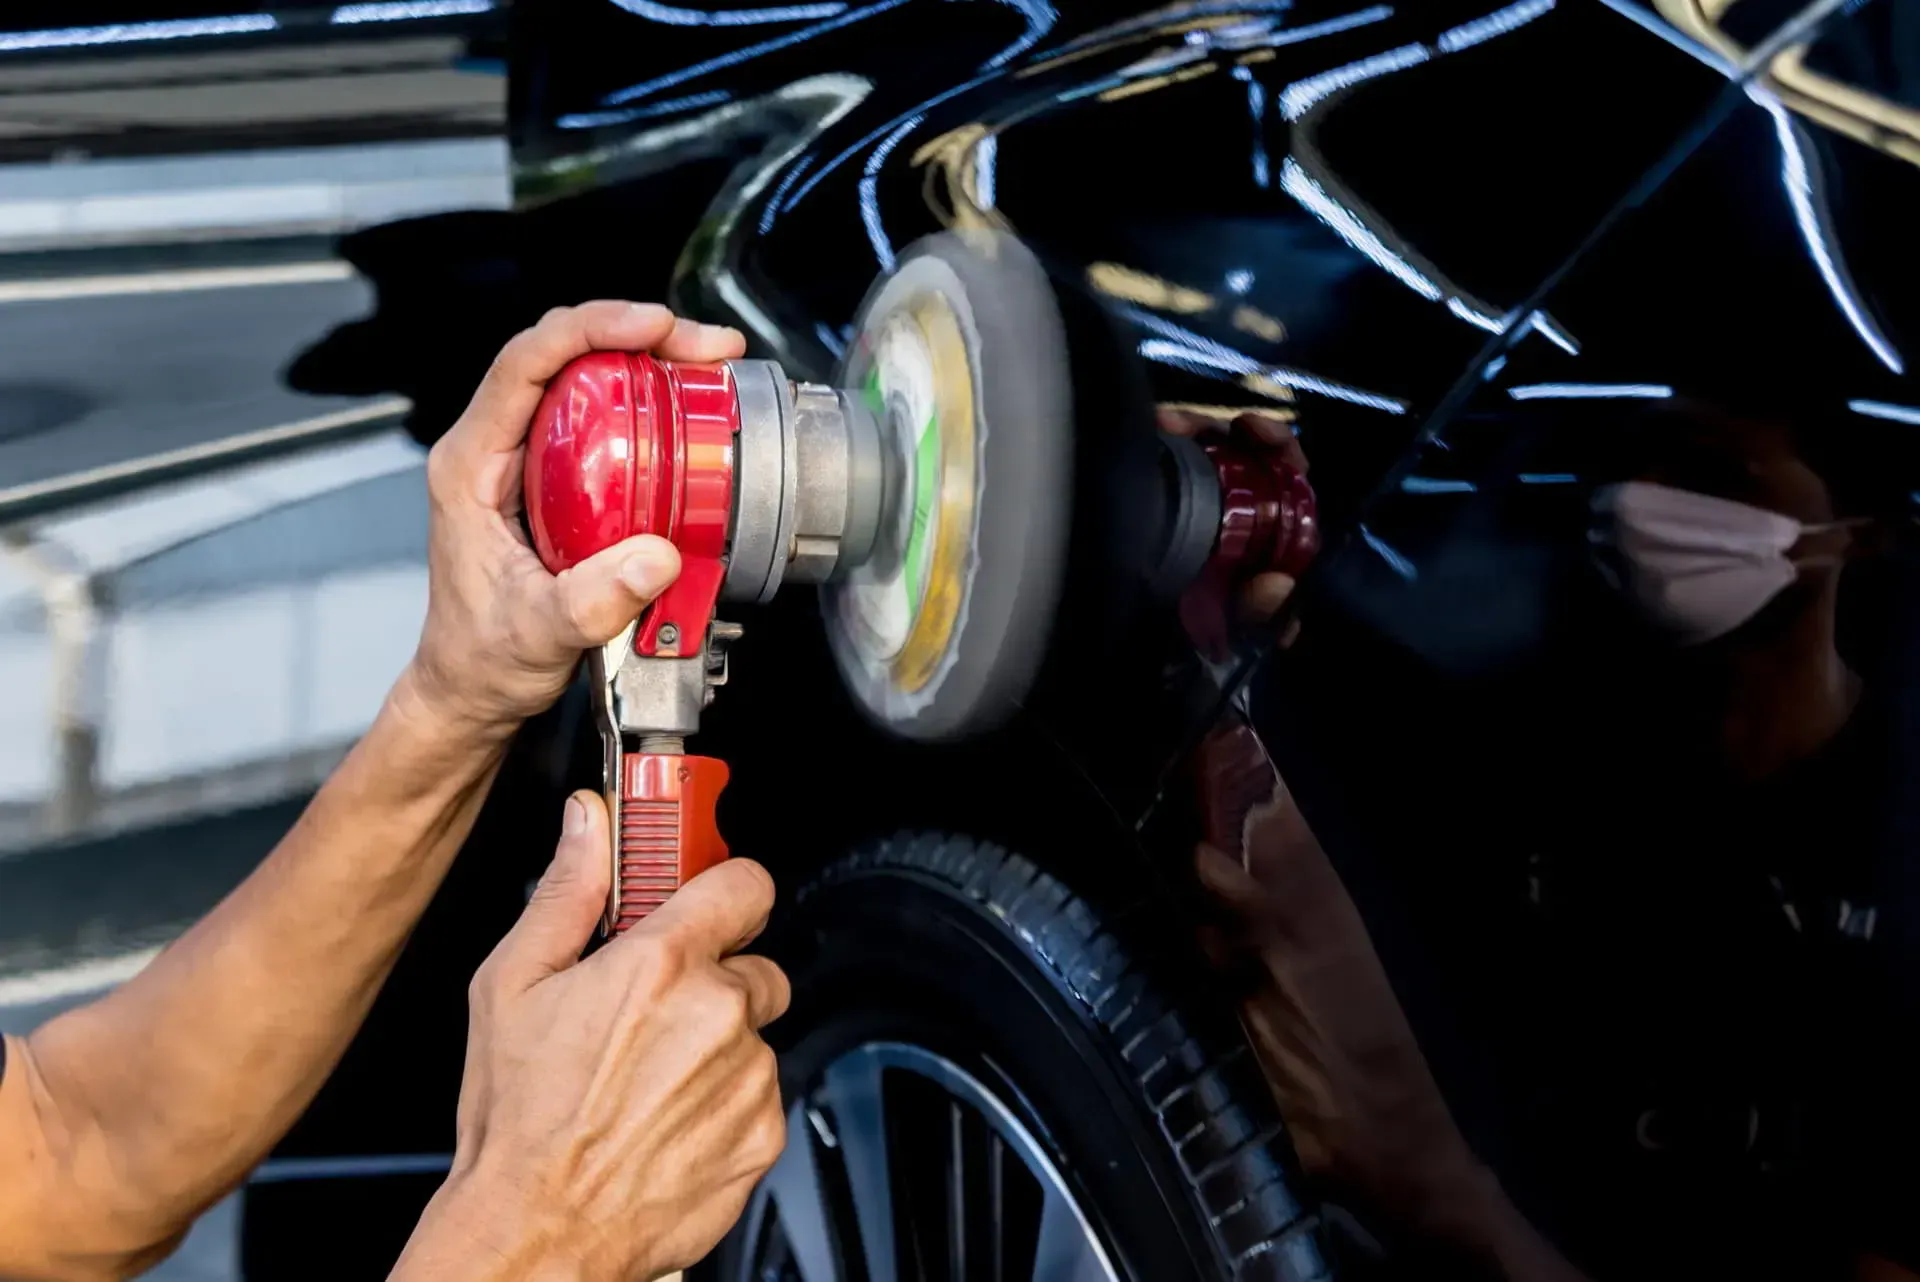
When it comes to paint correction, a small mistake can lead to serious problems. For instance, using a rotary polisher at high speed without adequate practice can easily burn the paint. Imagine this: The spinning pad generates so much friction that it "burns" through the clear coat and into the paint below. 40% of DIY enthusiasts accidentally remove too much clear coat, leading to irreversible damage and costly repairs. That's almost half of those attempting DIY paint correction!
Additionally, something as simple as using the wrong type of microfiber cloth can cause minute scratches that dull the overall finish over time. To put this in perspective, think of your car's paint as a delicate flower petal. Just as you wouldn't want to brush a petal too hard for fear of damaging it, mishandling paint correction tools or compounds can result in permanent damage, tarnishing its original luster. It's really crucial to understand how each tool and product interacts with your vehicle's paint. The wrong technique or product misuse can lead to lasting harm. This is why professional detailers have extensive training and hands-on experience—they've learned how to navigate potential pitfalls and deliver superb results with minimal risk.
Quality Control Issues
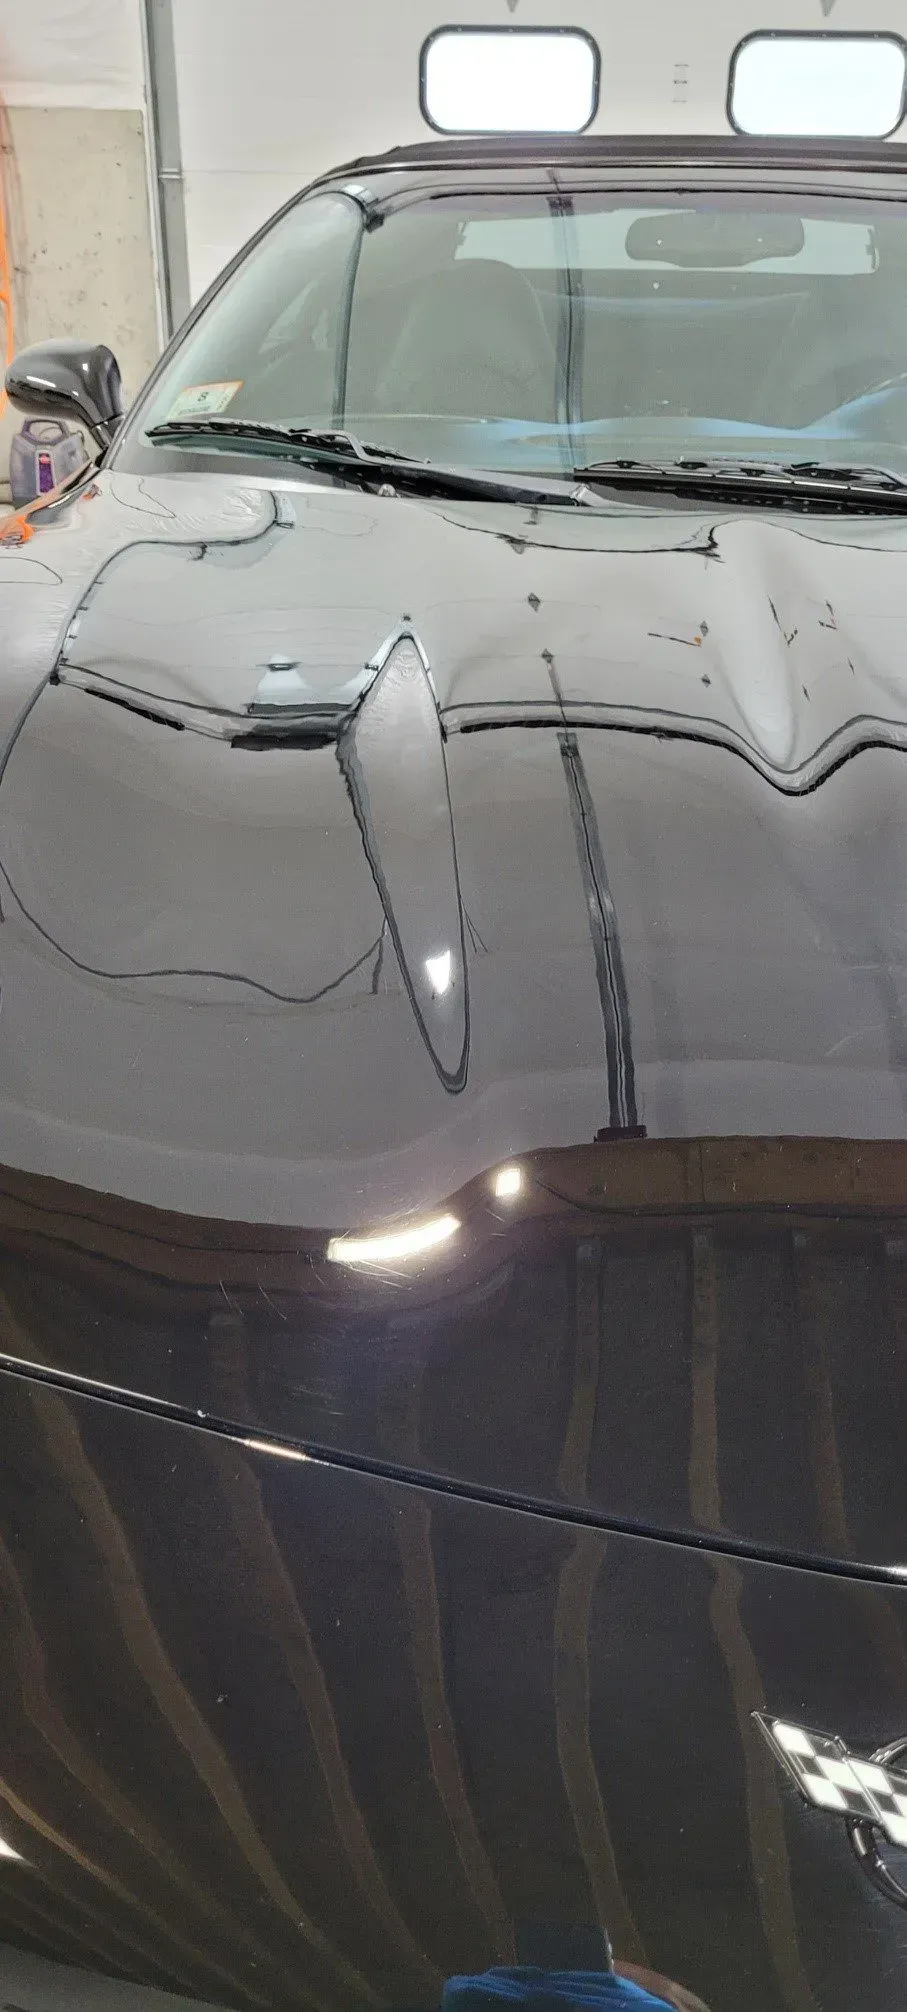
If this is your first time attempting to correct your vehicle's paint, you'll quickly discover that achieving a professional finish is no easy feat. Despite meticulous efforts and close attention to online tutorials, inconsistencies and imperfections often slip through the cracks undetected. One of the key challenges of DIY paint correction is achieving a consistent finish. Even with the best intentions and effort, it's common to find areas of the vehicle's surface that look dull and lackluster alongside other spots that appear overly polished. Achieving an even gloss level across the entire vehicle is a complex task that requires skill and experience.
It's crucial to inspect the vehicle from multiple angles, under different lighting conditions, and using touch to ensure it feels consistent across all surfaces. Professional detailers undergo years of training and practice to master these nuances in achieving uniform results. Further adding to the struggle are variable factors such as ambient temperatures and humidity. These environmental elements can significantly impact the curing process of certain paint correction products. For instance, high humidity levels can cause compounds to take longer to cure, leading to potential issues if not addressed properly. Atmospheric variables create additional challenges for DIY enthusiasts in achieving consistent outcomes throughout the paint correction process.
55% of DIY paint correction jobs result in uneven gloss levels, demonstrating just how prevalent this challenge truly is for those attempting DIY correction. The reality is clear: even with careful attention to detail and effort, getting professional-quality results without the right experience is highly elusive. Maintaining quality control during DIY paint correction presents several complex challenges. It goes beyond the mere act of applying compounds and buffing—it requires a keen eye for detail and an expert understanding of environmental impacts on the process.
Problems with Inadequate Equipment
Using inadequate equipment for DIY paint correction can lead to several frustrating issues and compromise the quality of the results you're aiming for. When it comes to correcting imperfections in a vehicle's paintwork, the use of subpar tools can significantly hinder the process.
For instance, many budget-friendly dual-action polishers lack the necessary torque to effectively handle more challenging imperfections, such as deep scratches or severe swirl marks. They might erase minor imperfections but often fall short when dealing with deeply etched scratches, resulting in a compromised finish and leaving behind still-visible imperfections. Moreover, low-quality pads and compounds can wear out quickly or leave behind residues that are hard to remove, leading to unsightly smudges on the paint that may require professional intervention to rectify. The frustration of investing time and effort into correction, only to be met with lingering residues, is an unfortunate result when using inadequate materials.
It's akin to attempting delicate surgical procedures with unsterile, blunt instruments—the risk of creating more harm far outweighs any potential benefit. An investment in high-quality tools may indeed set you back at least $500, as lesser-quality polishes and pads may not hold up well over time. This underscores the importance of considering the long-term benefits and professional precision delivered by professional service compared to the limitations of DIY correction with substandard equipment. With professional services, you’re ensuring that your vehicle receives meticulous attention and care using top-tier products and tools because, ultimately, your vehicle deserves nothing but impeccable care.
Common Mistakes with Compounding
Compounding, while a critical step in paint correction, tends to be a stumbling block for many DIYers. One of the most prevalent mistakes is overusing the compound, which can lead to ‘hazing’—a cloudy finish that’s hard to buff out. Imagine a scenario where you're meticulously polishing your car to eliminate unsightly scratches. Instead of achieving a smooth, glossy finish, you notice a cloudy haze across the paint. This is a typical consequence of overusing the compound. It can be frustrating and potentially cause irreversible damage if not corrected properly.
Another issue arises when too aggressive a compound is used on delicate paints. This can cause micromarring, leaving behind tiny scratches that weren't there initially. Similarly, insufficient compounding may fail to remove deeper imperfections, leaving the paint looking uneven and blemished. These mistakes lead to dissatisfaction and potentially costly fixes. Consider this: You spend hours working meticulously on your car's paint, only to find small scratches all over it after using an overly aggressive compound. This can be disheartening for any DIY enthusiast who puts time and effort into perfecting their vehicle's appearance.
Preventing Swirl Marks
Swirl marks can be a real headache for anyone attempting DIY paint correction. These tiny scratches can occur due to various factors such as improper washing, using low-quality applicators, or even something as simple as not cleaning your pads before use. To ensure that no swirl marks ruin your hard work, here are some essential guidelines to follow.
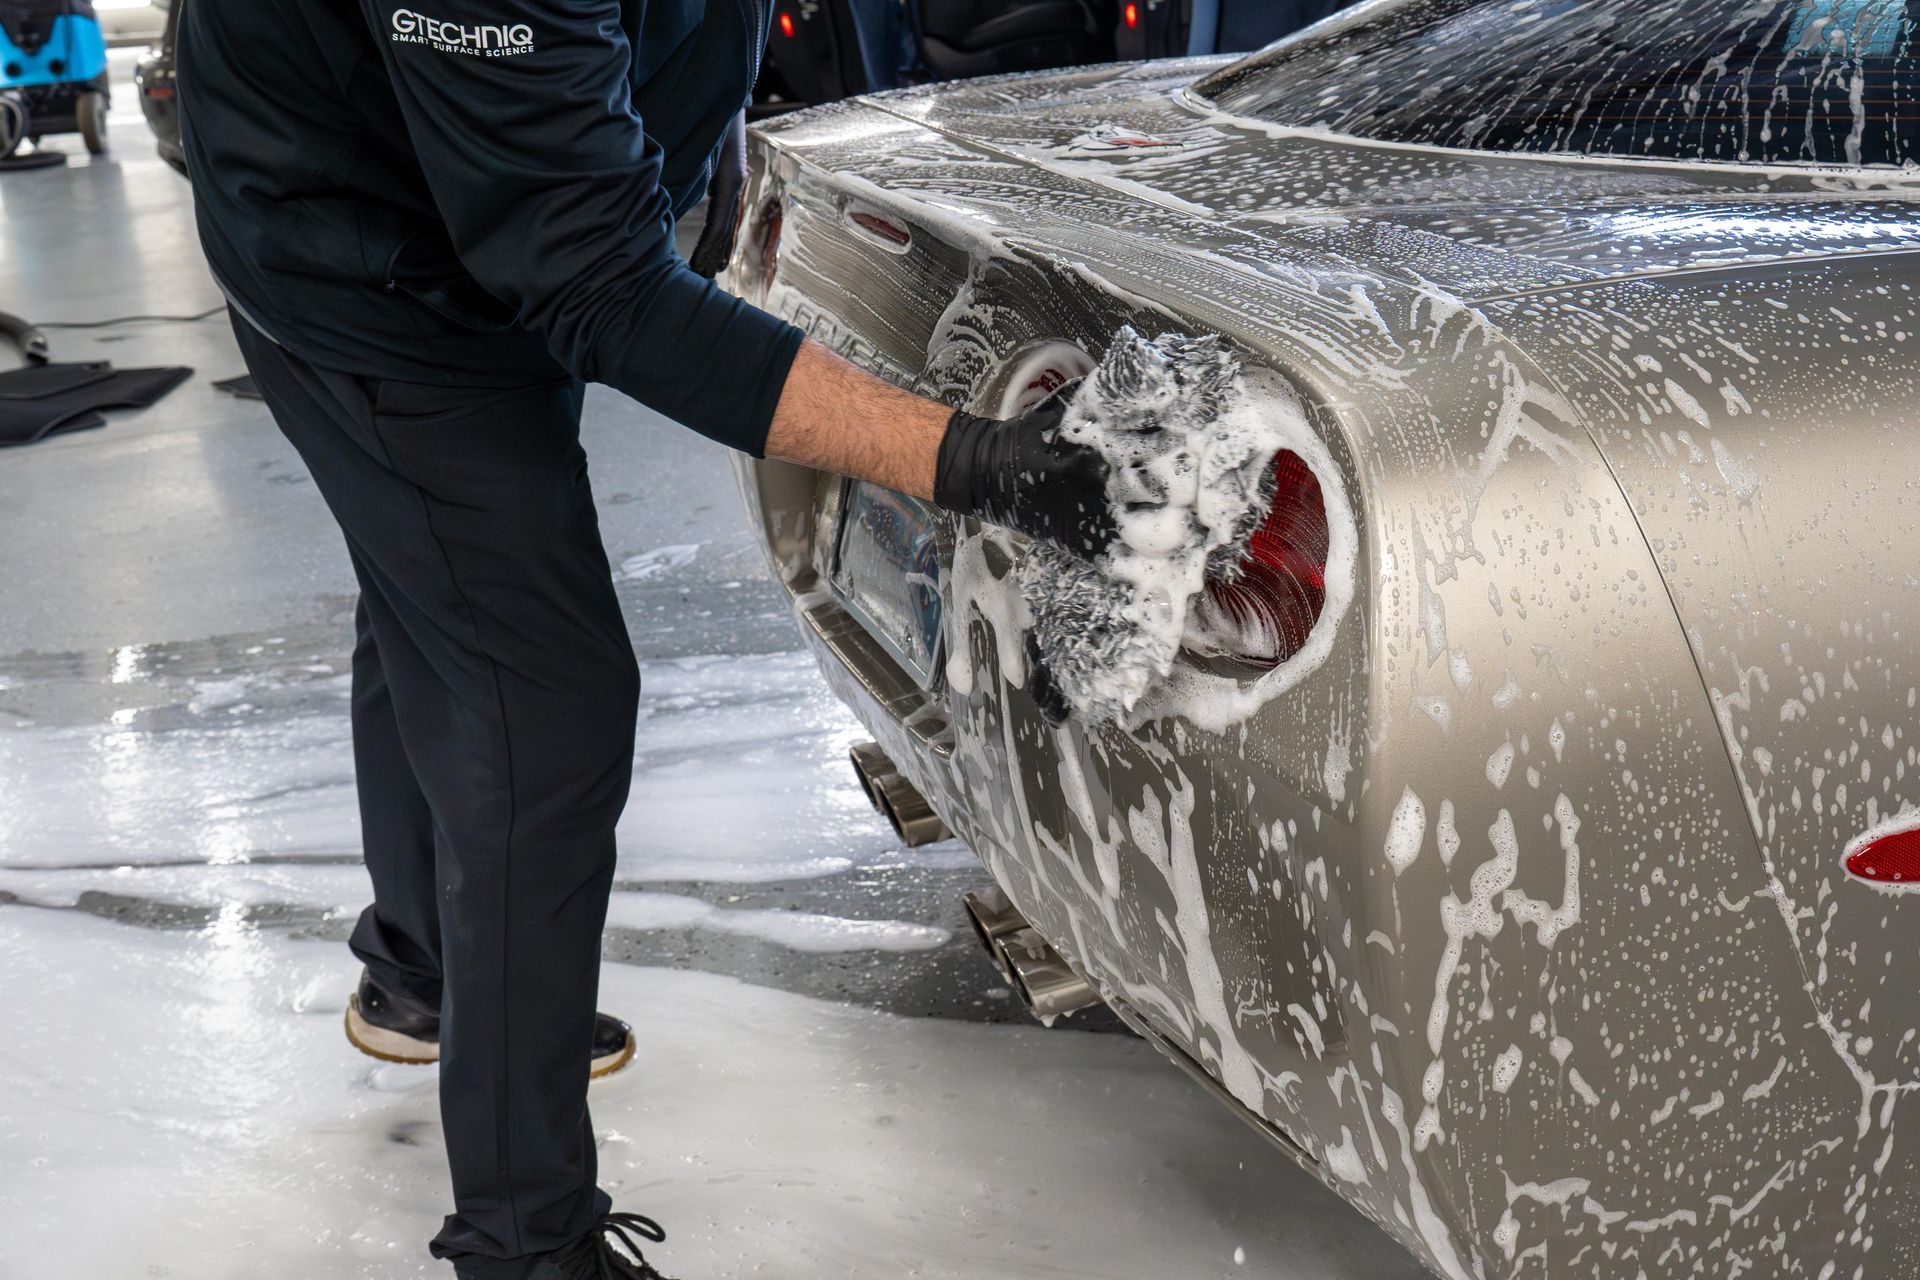
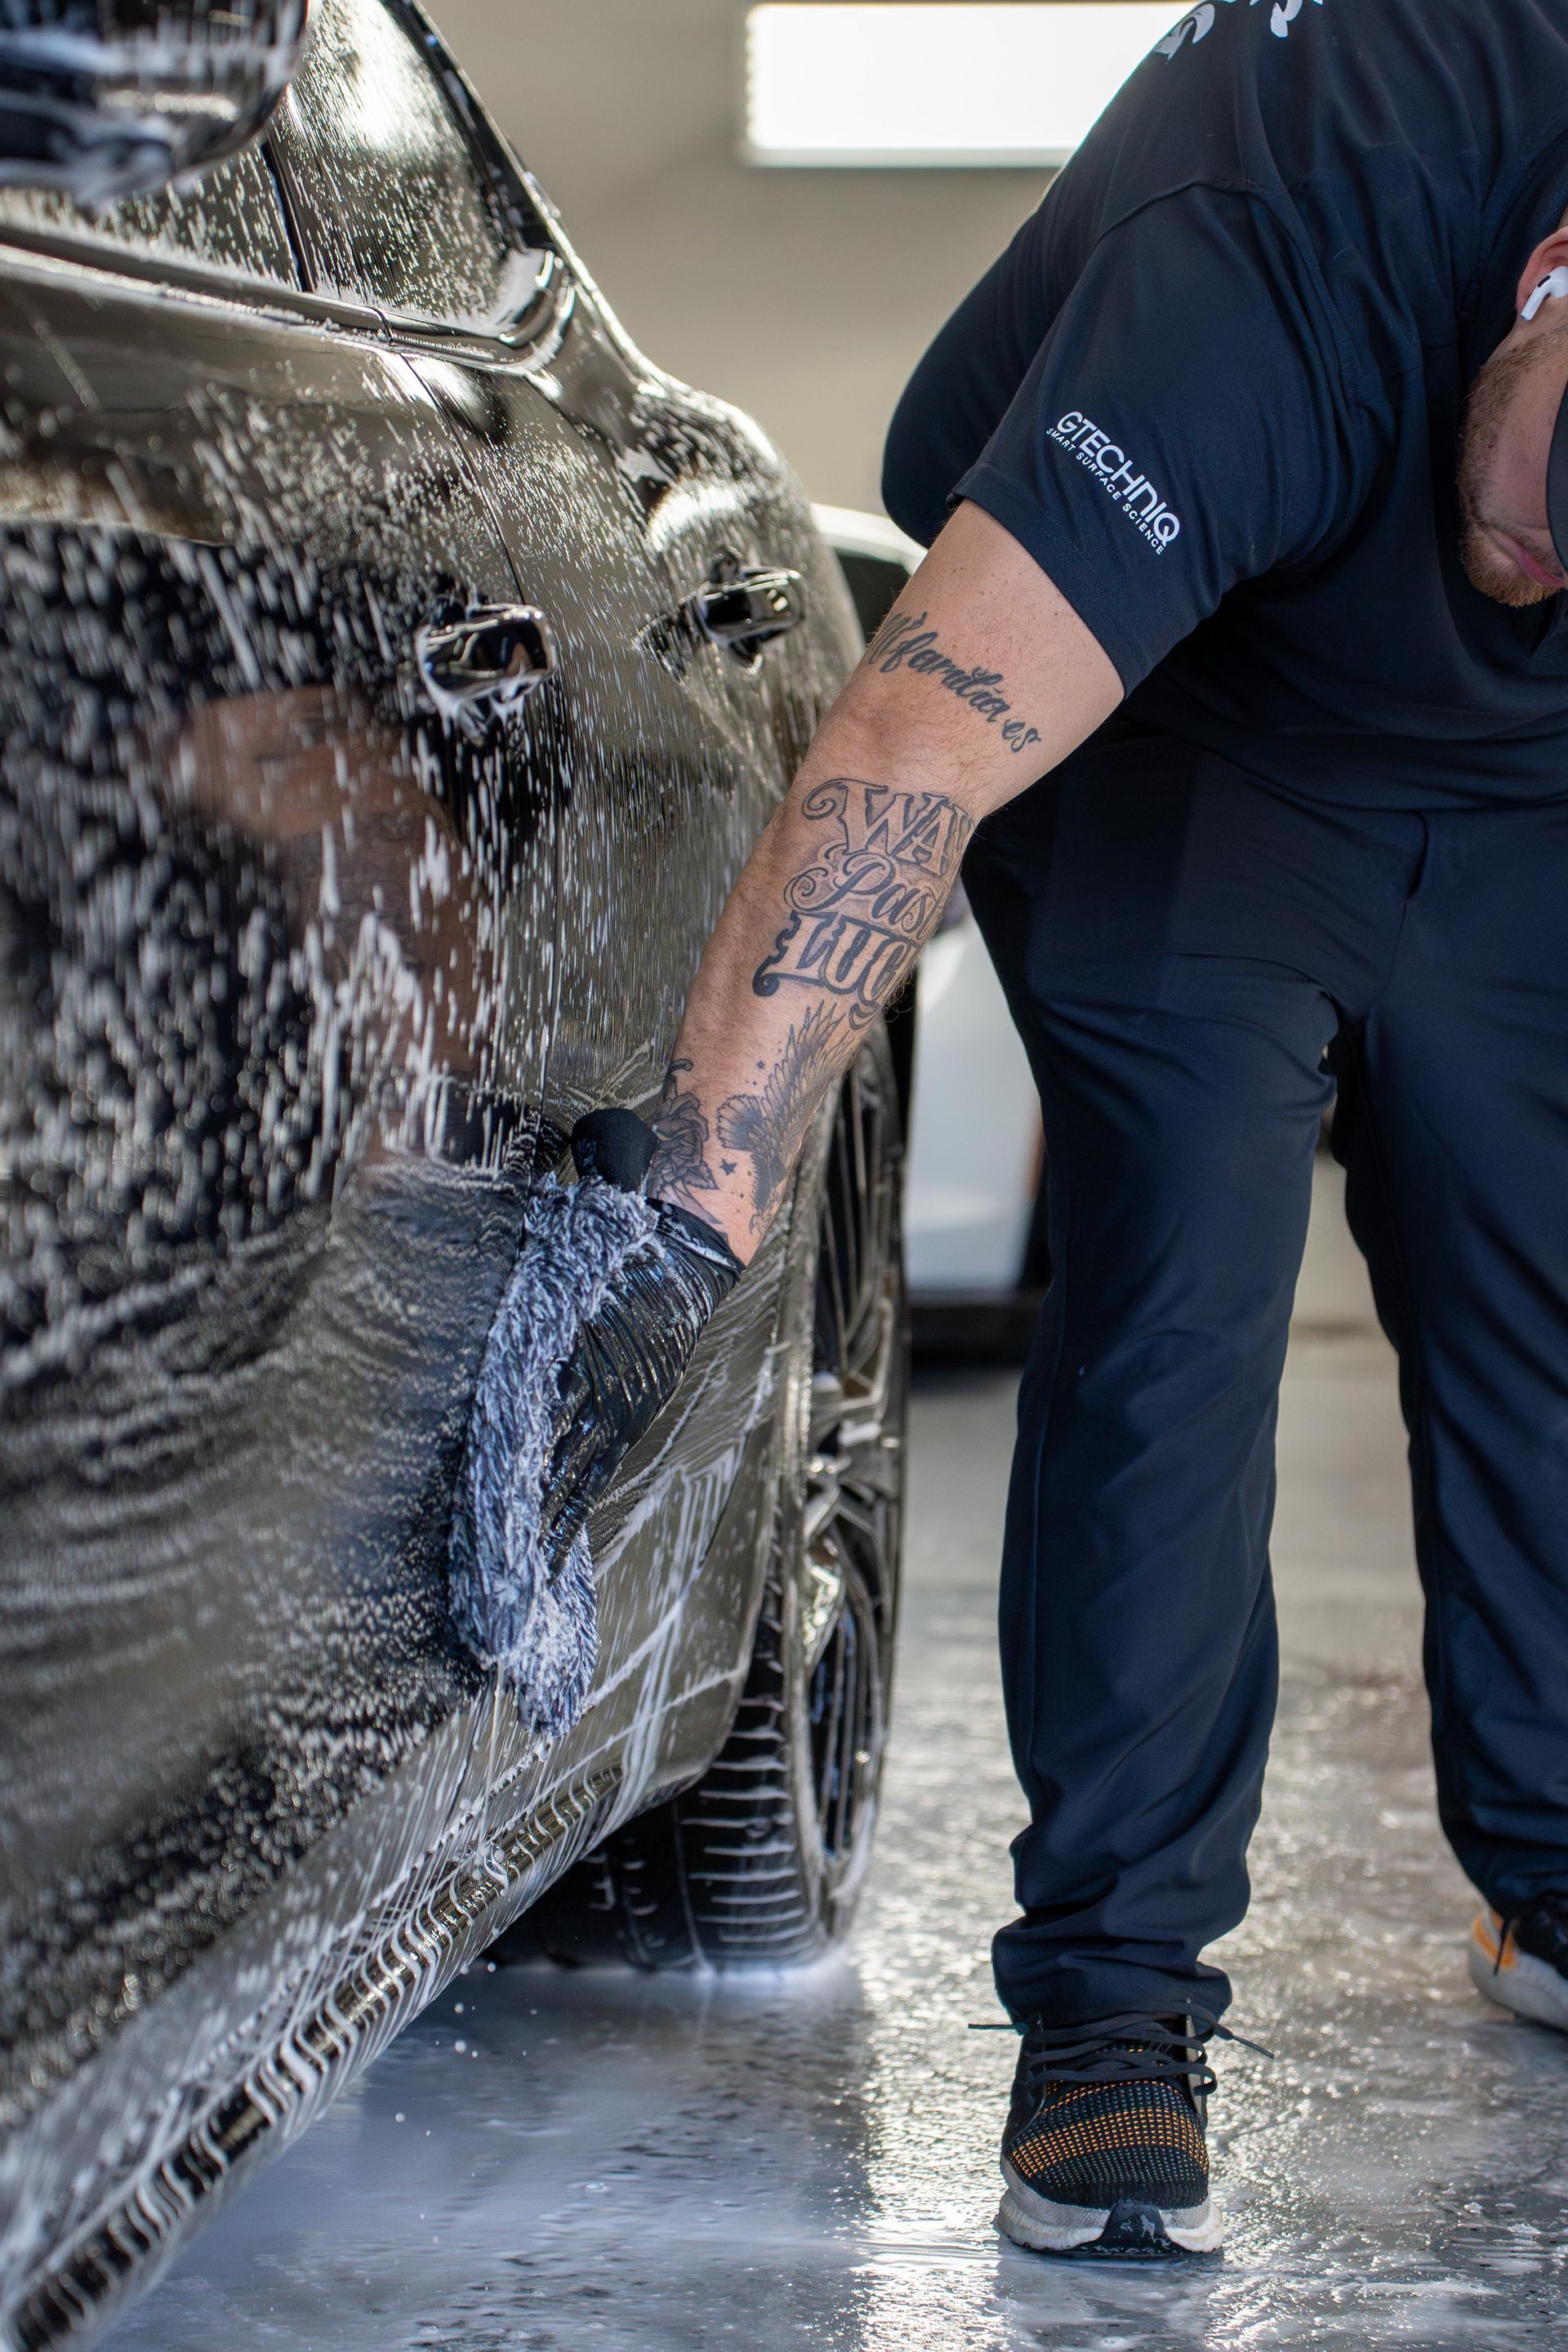
- Proper Washing and Drying Techniques: First things first, the way you wash and dry your vehicle plays a crucial role in preventing swirl marks. Always use the two-bucket washing method to minimize the risk of dirt and debris causing scratches on your vehicle's paintwork. By rinsing your wash mitt or sponge in a separate bucket of water after each pass, you effectively remove contaminants and prevent them from affecting the clean, soapy water. Consider using a high-quality microfiber drying towel to gently blot the surface instead of rubbing, reducing the potential for creating swirl marks.
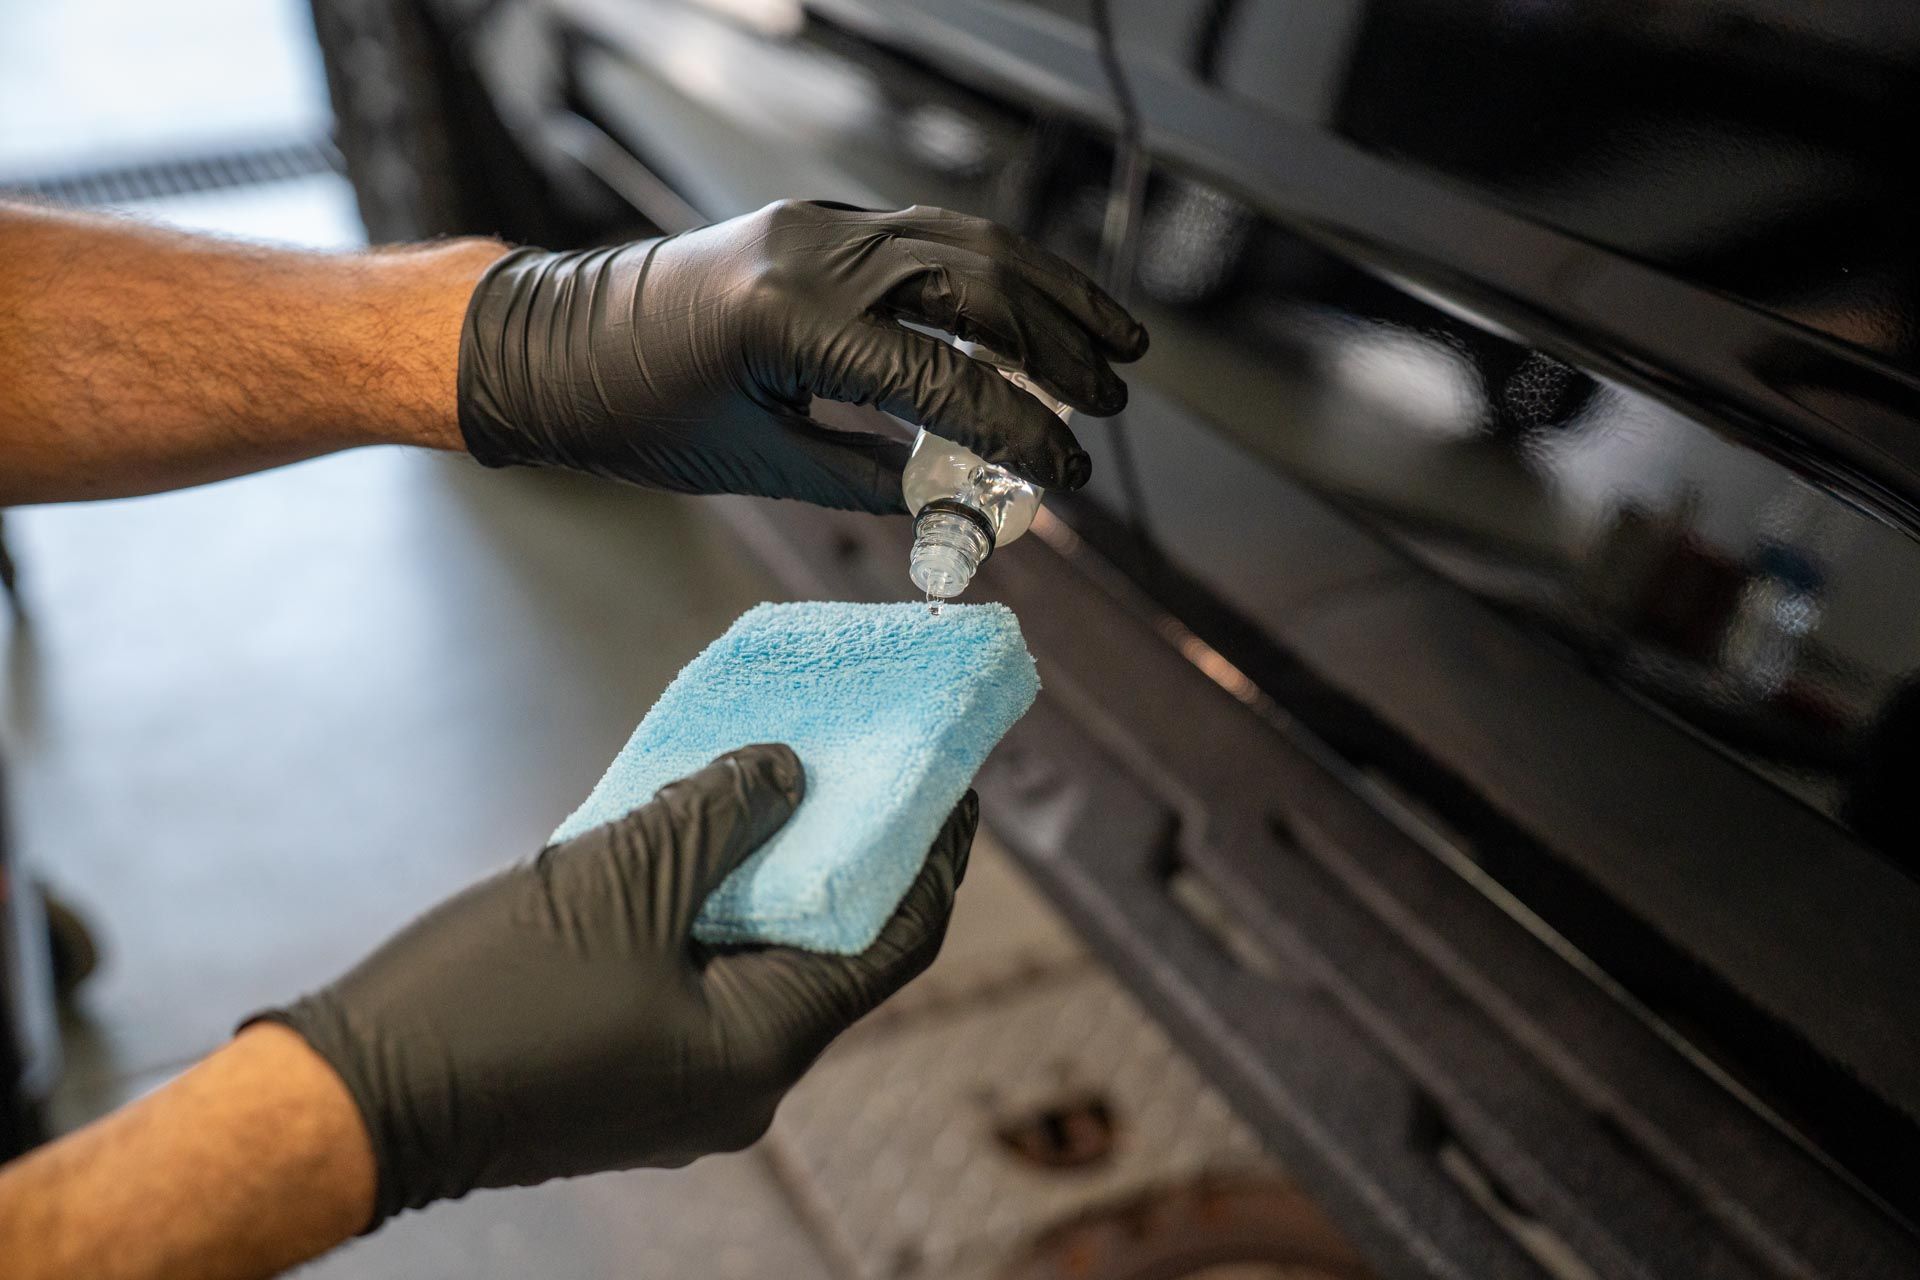
- Quality Applicators and Tools: Investing in high-quality applicators and tools can make a significant difference in preventing swirl marks. Choose a dual-action polisher with variable speed settings to provide gentle yet effective correction without the risk of creating new swirls. When selecting polishing pads, opt for foam or microfiber pads designed specifically for paint correction, as they are less aggressive than traditional wool pads and reduce the likelihood of inflicting swirl marks. Ensuring that your equipment is clean and free of any abrasive contaminants is crucial to achieving a flawless finish.
- Proper Technique and Equipment Maintenance: It's not just about what tools you use but also how you use them. When operating a dual-action polisher, apply consistent pressure and keep the machine moving at all times to avoid dwelling on one area, which could potentially create swirl marks. Always inspect your pads before use to make sure they are free of any debris or leftover compounds that could mar the paint's surface. Regularly clean and maintain your equipment to ensure optimal performance. Overlooking these simple maintenance tasks can lead to unsightly swirls and blemishes on your vehicle's paintwork.
By adhering to these recommended practices, you significantly reduce the risk of creating unwanted swirl marks during your DIY paint correction projects. Remember, attention to detail and proper technique go a long way in achieving professional-quality results while safeguarding your vehicle's paintwork from unnecessary damage.
Superior Paint Correction Services in Dartmouth, MA
Trust the experts at Elite Auto Detailing to deliver exceptional paint correction services in Dartmouth, MA. Our paint correction services are designed to restore your vehicle’s finish to a flawless state. Our skilled technicians use advanced techniques and top-quality products to remove imperfections, swirl marks, and oxidation, revealing a mirror-like shine. If you're seeking to rejuvenate your car’s appearance and protect its value, contact us today to schedule a paint correction service that will bring out the best in your vehicle’s finish. Call us at (774) 202-2523 to get started!